“Today everything exists to end in a photograph.” — Susan Sontag
Thank you for all the new views and likes from last week, it helps keep me inspired.
Sunday, 10/10/2021: Posted photo — Lakeside.
Settings: Canon EOS 60D, ISO 400, f/7.1, 1/125 s, 32 mm.
Today we took the dock out of the water at the cottage. The water was cold when first going into it, and then it did not feel so bad. We need to go into the water to lift part of the dock off its foundation to bring it in. Many years ago, the tires on the bottle of the support legs on the dock fell off so we manually need to lift the dock out of the water.
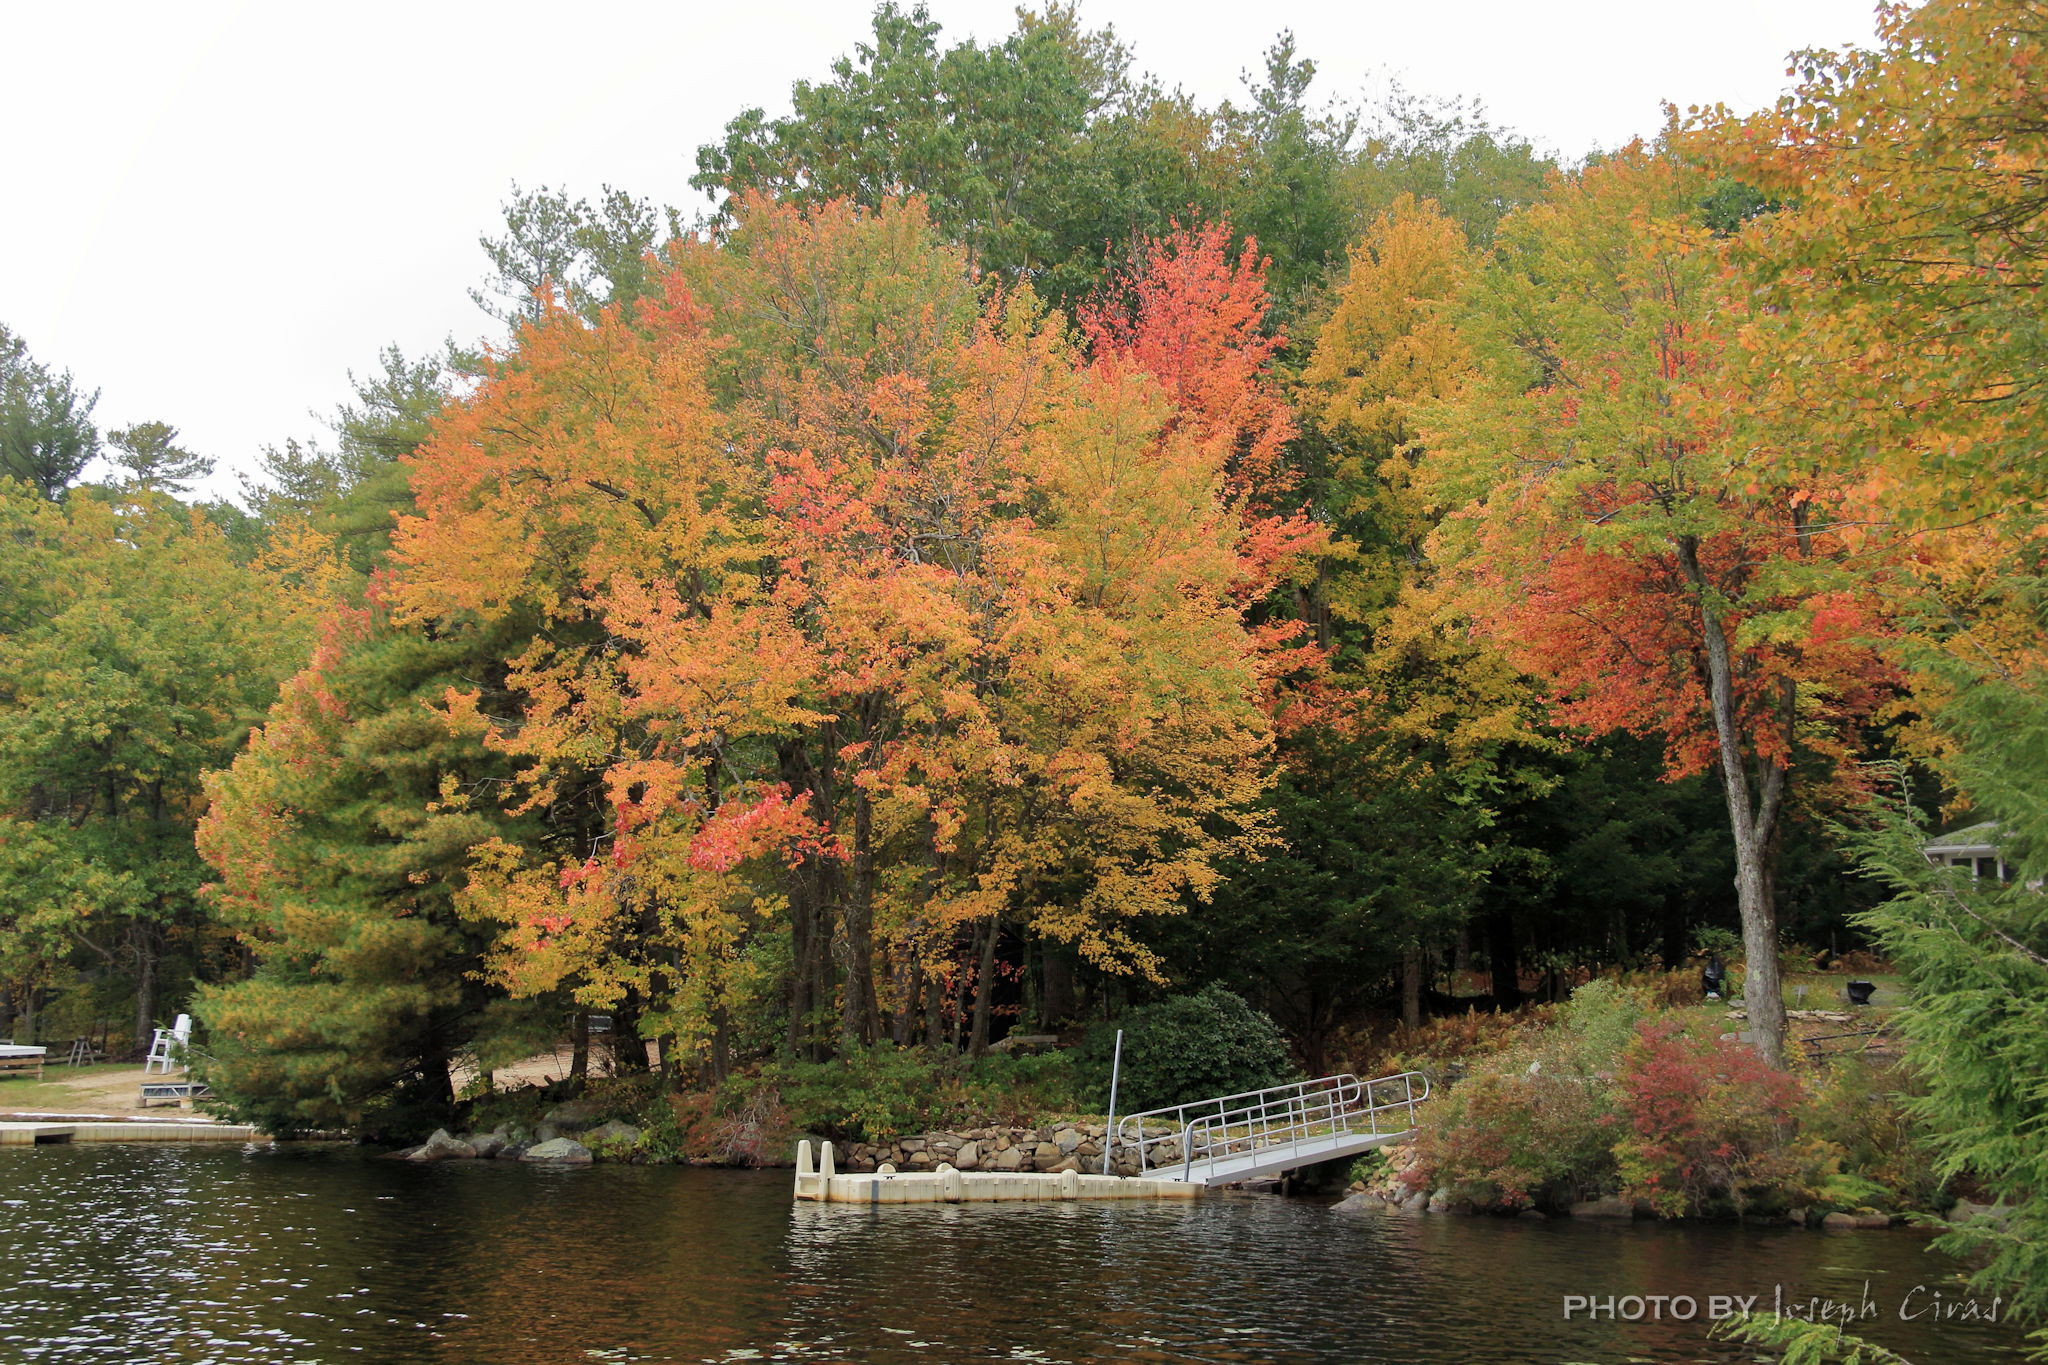
Before the dock was removed, I went out on it to enjoy the foliage from out in the water. I took this photo shortly before the dock was removed from the water.
The day is always a fun filled day with family and friends.
Monday, 10/11/2021: Posted photo — Trees in the Sun.
Settings: Canon EOS 60D, ISO 100, f/7.1, 1/125 s, 50 mm.
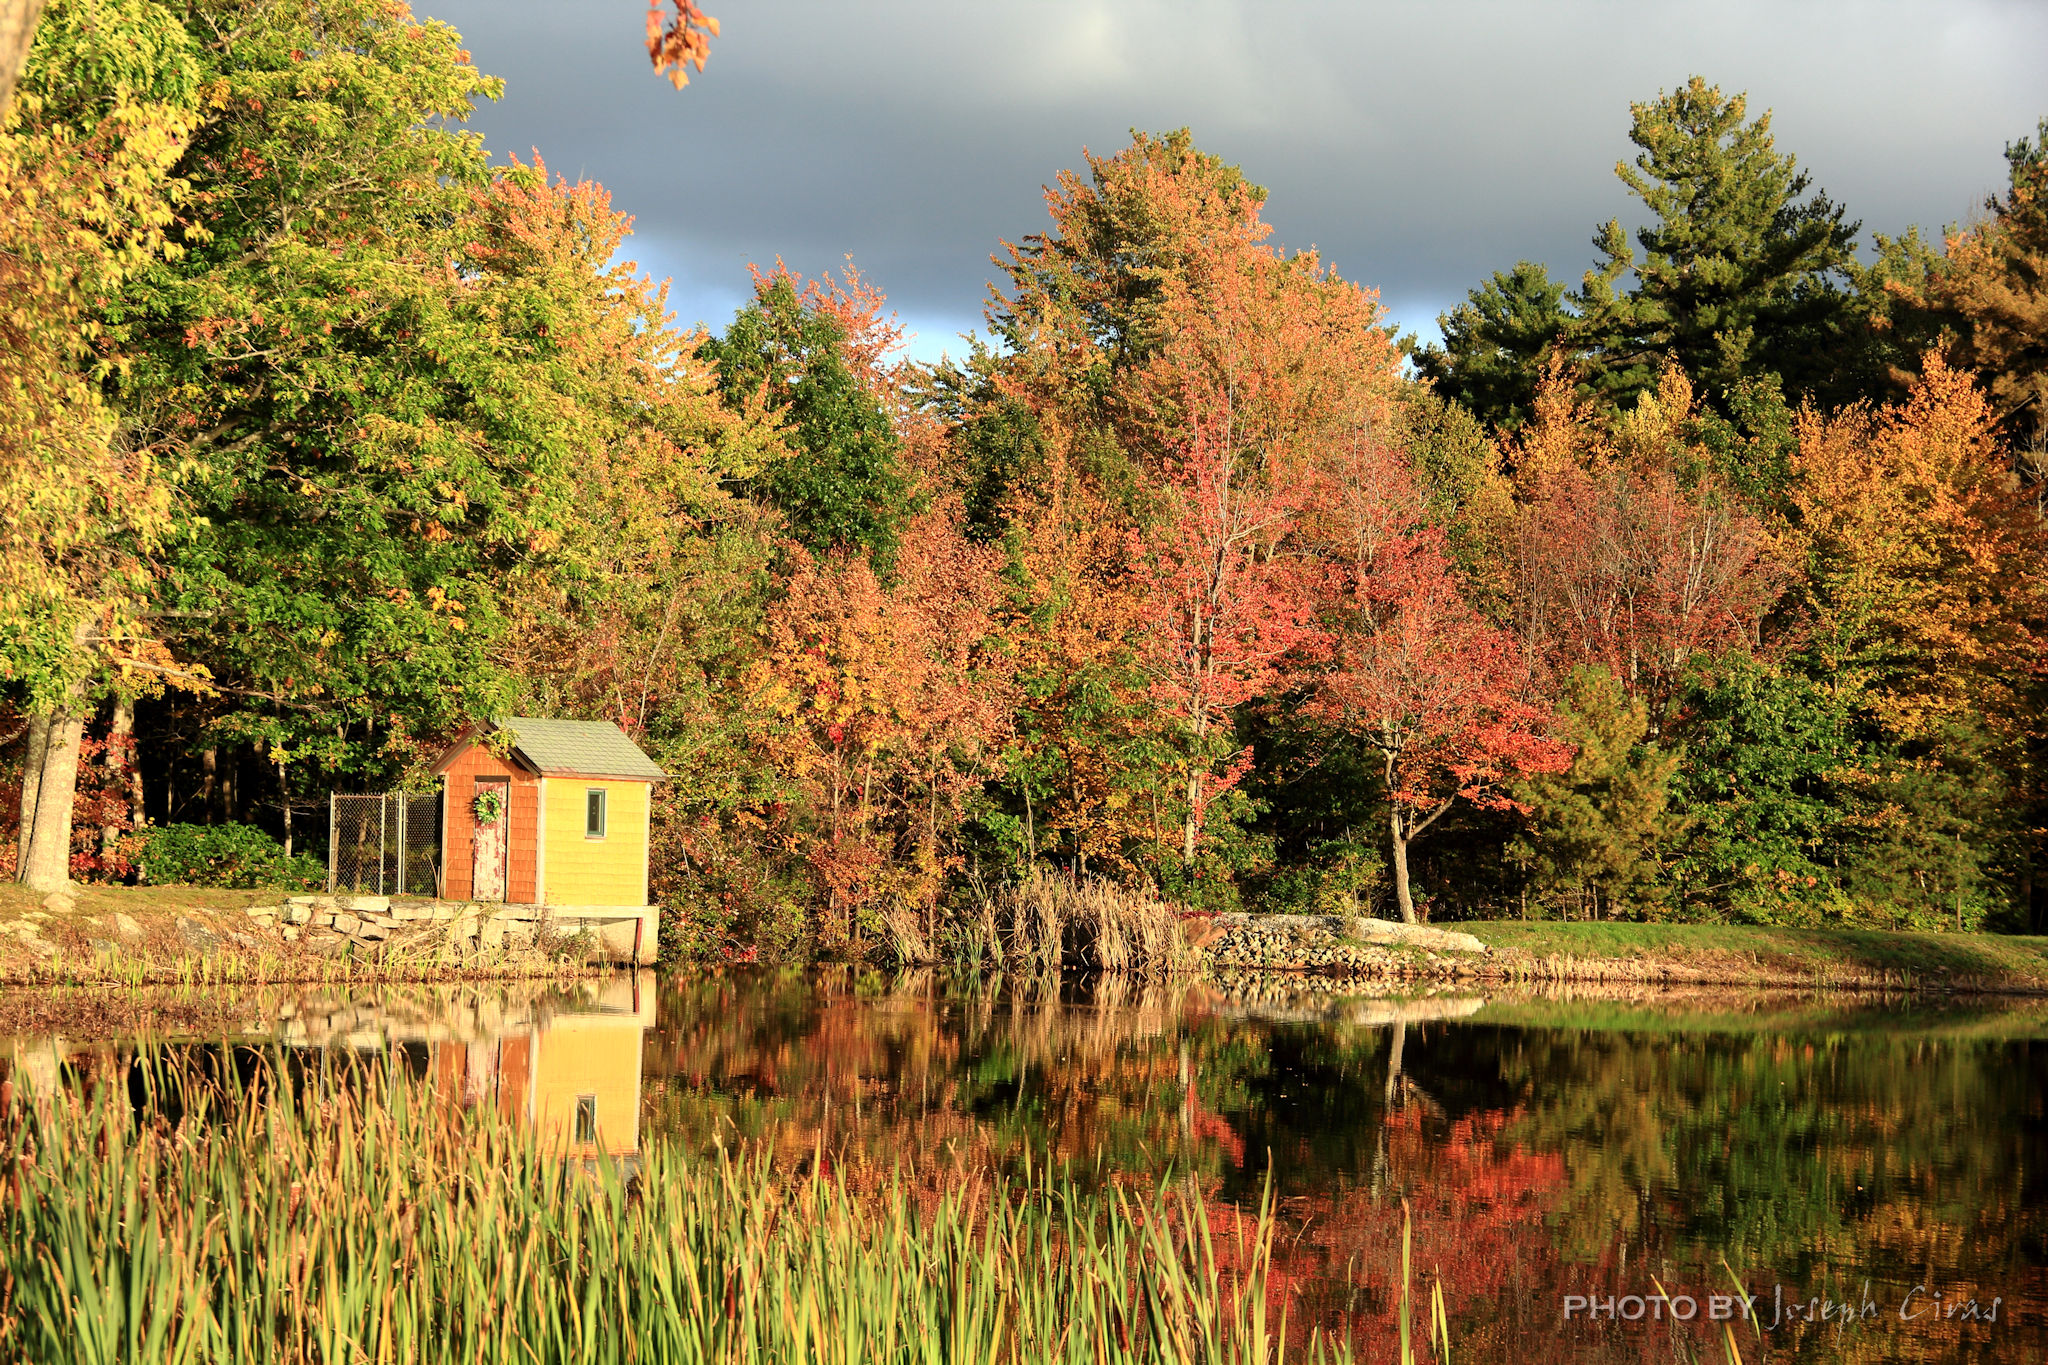
This is the backside, or inlet side, of the falls at Round Meadow Pond. You have seen a few photos of the water flowing over the dam since that is one of my favorite spots to photograph. I took this photo because of the bright colors of the foliage, and I liked the way the light was reflecting off the trees.
Tuesday, 10/12/2021: Posted photo — More Foliage.
Settings: Canon EOS 60D, ISO 100, f/7.1, 1/160 s, 50 mm.
Not much to say about this photo. The foliage is starting to get to peak in this area, so I am taking as many foliage photos as I can.
One thing I can say about this photo, and my other foliage photos, is that they look very bright. The histogram looks good for these photos, but the photos look bright when viewing on some screens. It might be because I use calibrate monitors to edit my photos and the other monitors are not calibrated.

Time to do some research into this issue. Maybe I should get one or two of them printed to see how the colors come out.
Wednesday, 10/13/2021: Posted photo — Morning Dew.
Settings: Canon EOS 60D, ISO 100, f/7.1, 1/250 s, 72 mm.
I was going to post another foliage photos today but decided to post a photo of the morning dew. This photo was meant to show the dew and to break up my trend of foliage photos. Too much of a good thing is not always good.
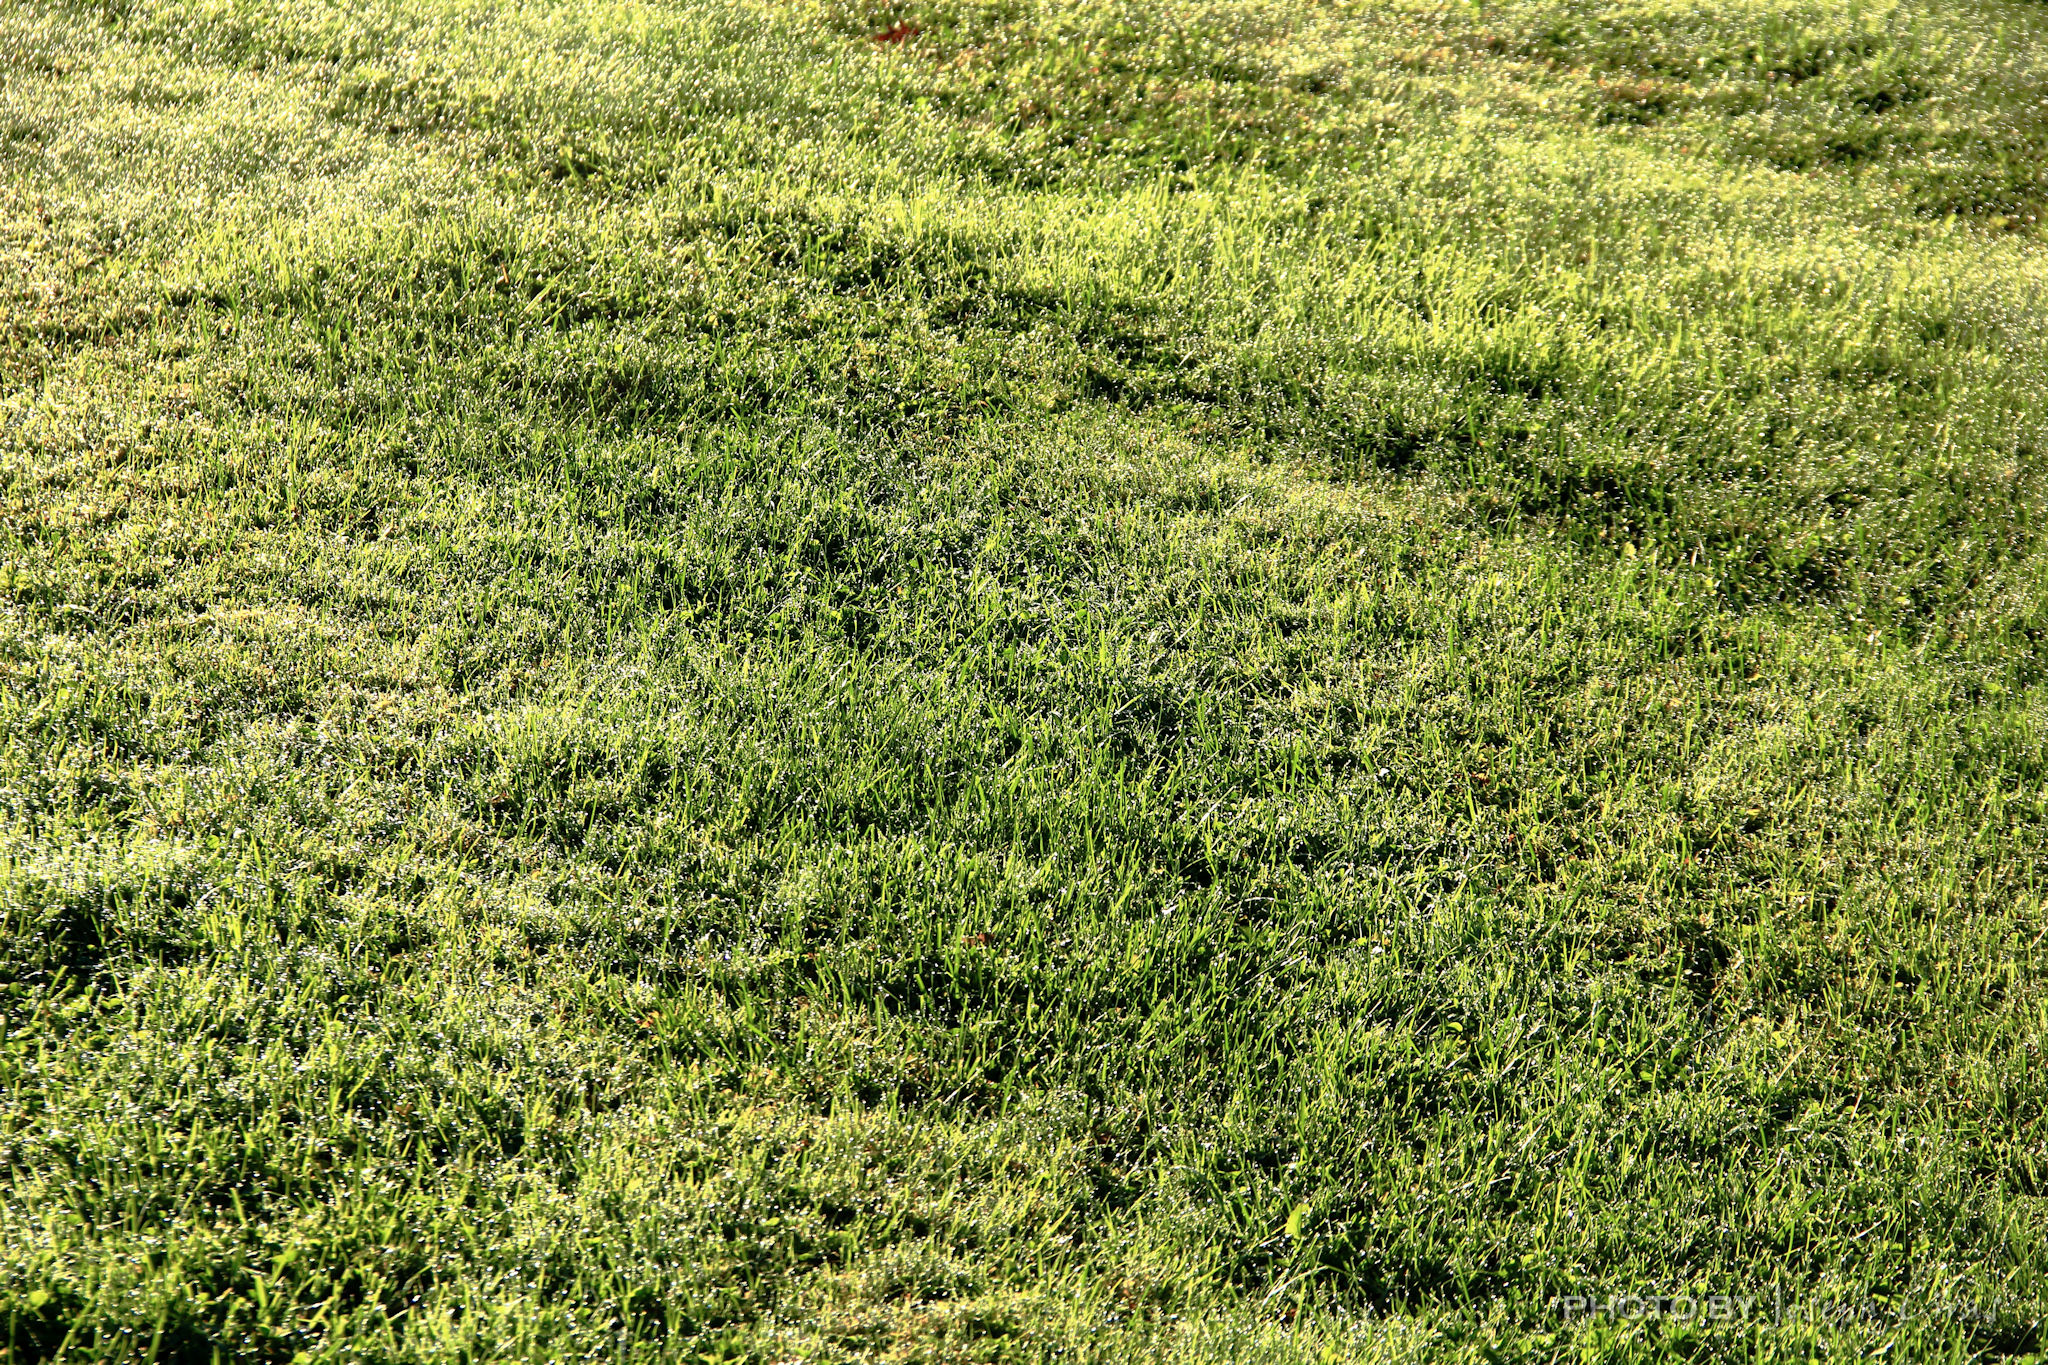
I attempted to capture the light off the dew on the grass. Please leave a comment to let me know how well I captured the light and to give me some tips to improve.
Thursday, 10/14/2021: Posted photo — Lightning at Sea.
Settings: Canon EOS 60D, ISO 100, f/5.6, 15 s, 48 mm.
15 second exposure looking out to see in Jacksonville Beach, FL a few years ago.
During a past vacation, my family rented a condominium on Jacksonville Beach. My wife has relatives that live in both Jacksonville Beach and Neptune Beach, so we travel to the area relatively often. Most of the time we rent a house or condo not on the beach.
A common occurrence in Florida is a storm out to sea at night. It is such a great sight to see the lightning in the distance. On this night, I decided to put my camera on my tripod, set the exposure time to 15 seconds, to capture the storm. After looking at the photos, my only regret was that I did not leave my shutter open for 30 seconds.
There will always be another trip back to the beach.

Here are a few camera settings for photographing daytime and nighttime lightning that I have picked up over the years:
Camera settings tips for photographing daytime lightning photos:
- Set up camera on a sturdy tripod.
- Turn off any image stabilization you might have. If image stabilization is on, the camera will think it is moving when the shutter engages, even though there is not camera movement.
- Focus camera lens on infinity or on an object in the distance.
- Set the aperture of the lens to f/16 or smaller. This will close the iris inside the lens, allowing a longer shutter speed to be used.
- Set ISO to lowest it will go, for example use ISO 100.
- Take a test exposure using the slowest shutter speed allowed to see if the image is exposed correctly and your focus is correct.
- Set your camera on manual or bulb.
- Use a remote timer/intervalometer to fire the shutter continuously.
Here is an example of a daytime lightning photo. This photo was handheld since the storm arrived quickly. For your information, we did not hike down into the Grand Canyon that day.

Camera settings for photographing night-time lightning
- Set up camera on a sturdy tripod.
- Turn off any image stabilization you might have. If image stabilization is on, the camera will think it is moving when the shutter engages, even though there is not camera movement.
- Focus camera lens on infinity or on an object in the distance.
- Set the aperture of the lens to a medium value, such as f/5.6 or f/8. This will allow a longer shutter speed by bringing in more light and improve image quality at the same time by allowing the use of a lower ISO value.
- Set ISO to lowest it will go, for example set your is to ISO 100. You may have to increase your ISO to ISO 200–ISO 400 depending on the lighting in the area. I prefer my ISO set at ISO 100 for all my lightning shots.
- Set your camera on manual or bulb.
- Set the shutter speed to between 5 and 20 seconds. You can set it up to 30 seconds if you are in a dark area.
- Take a test shot to see if the scene is exposed correctly, remembering that if a strike does happen in the field of view it could light up the scene considerably, depending on how big the strike looks in the photo.
- Use a remote timer/intervalometer to fire the shutter continuously.
Friday, 10/15/2021: Post photo — Clouds.
Settings: Canon EOS 60D, ISO 200, f/7.1, 1/1250 s, 37 mm.

Today I am posting a photo of a cloud. I took many photos today, but this one was the only one that I liked.
Saturday, 10/16/2021: Post photo — Aster.
Settings: Canon EOS 60D, ISO 200, f/5.6, 1/320 s, 106 mm.

I went to my mother’s house today to make sure everything was fine at the house. I also collected some of the wood from the tree that fell on her house about a year ago to bring home to burn. Earlier in the day, I took photos at Leominster State Forest. I went hiking at Leominster State Forest last night and went back today to get some more photos. I will be posting the photos I took in this blog for you to see what I did not post for my 365 project.
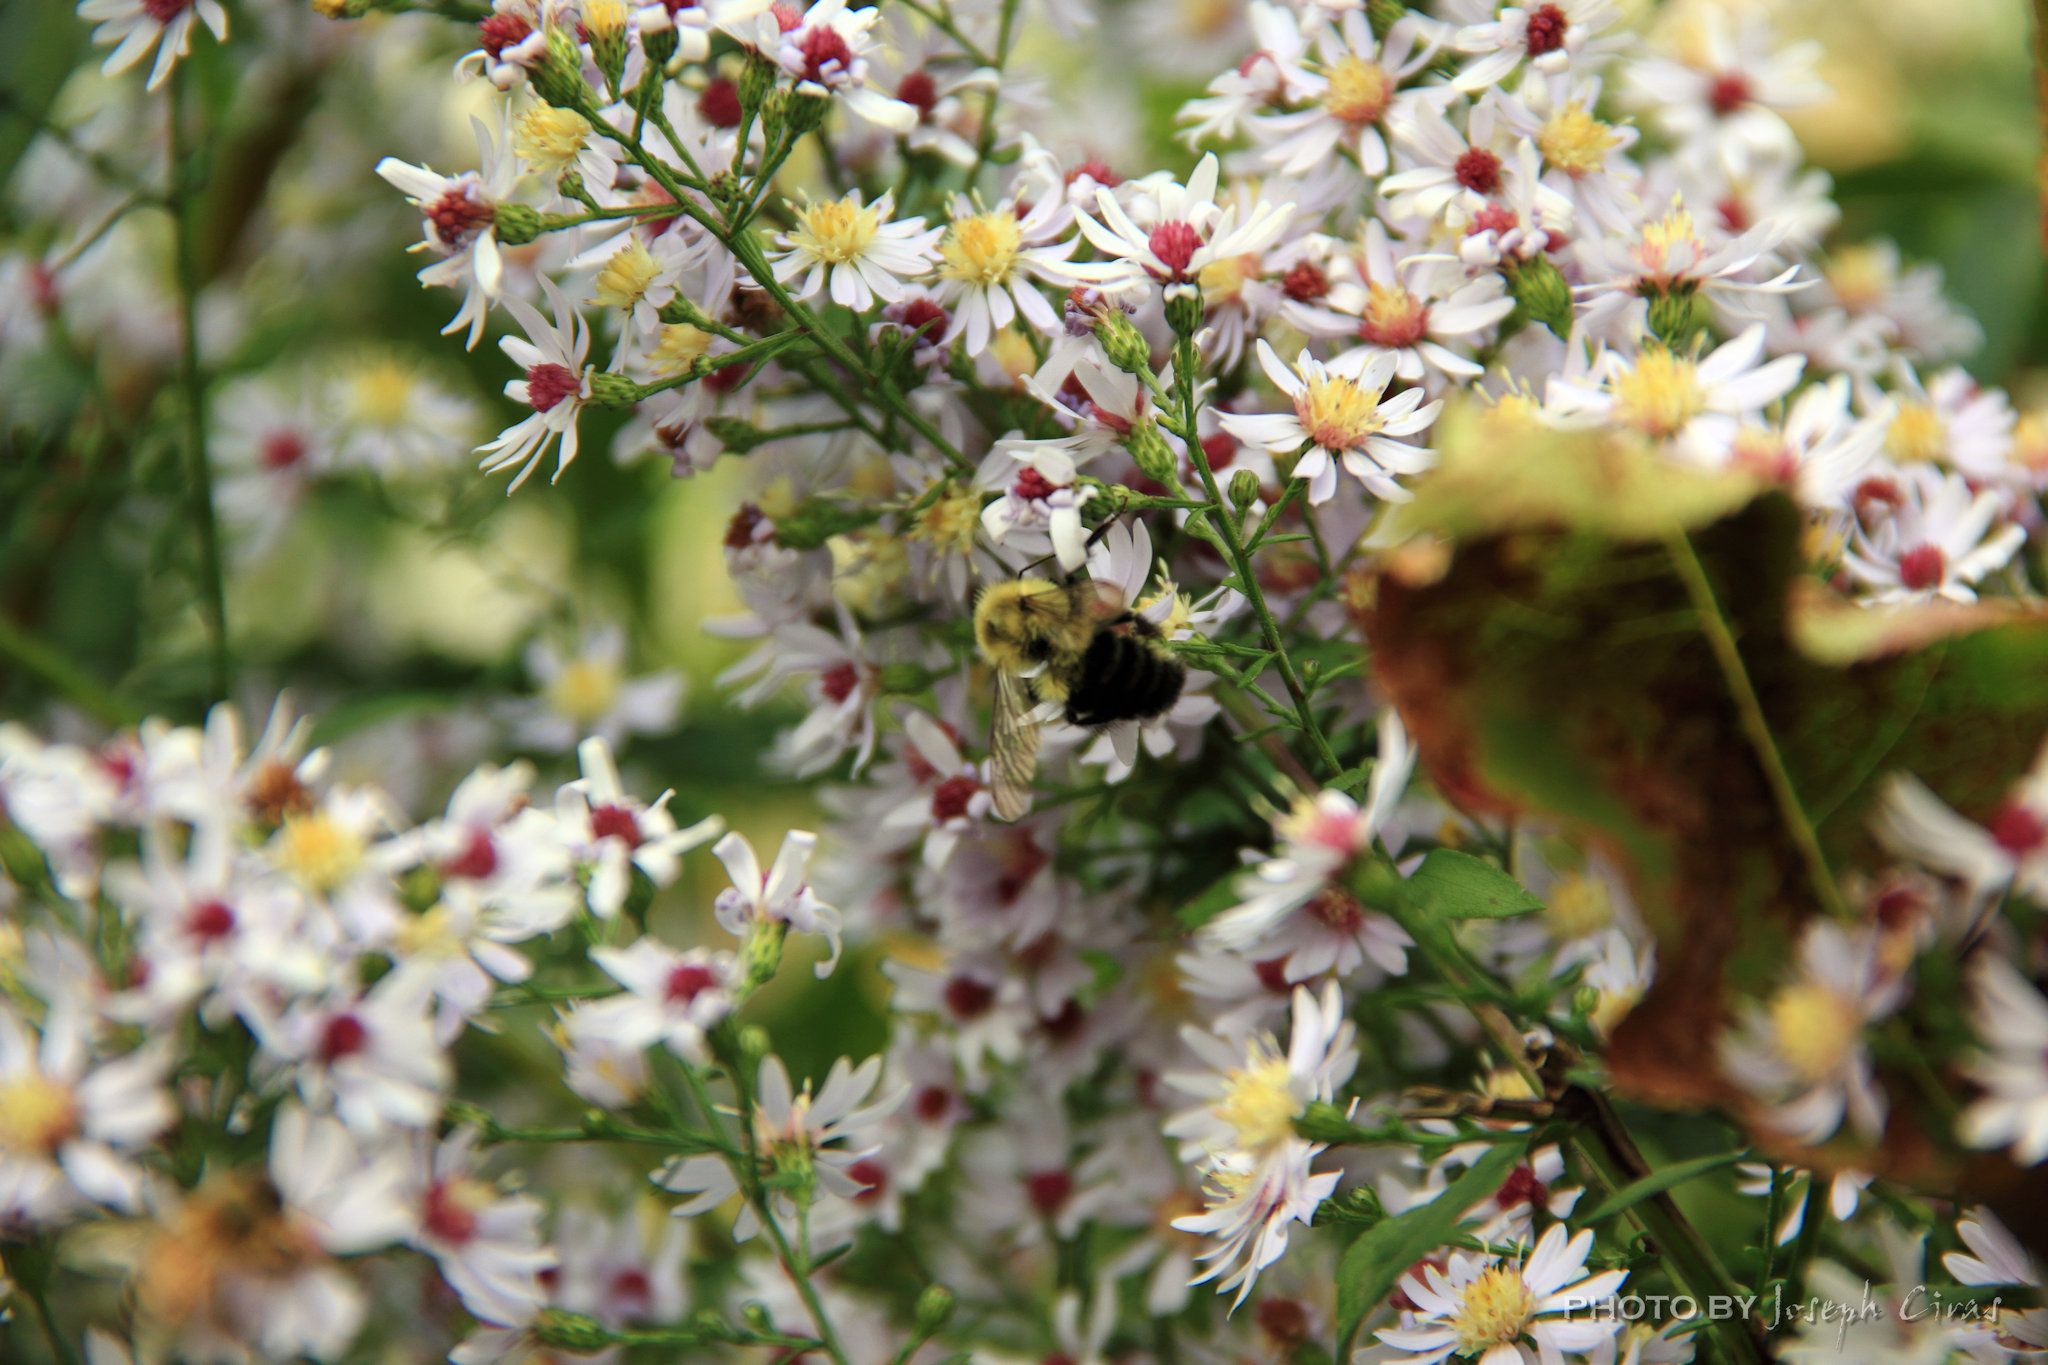

When I was at her house, I noticed a lot of asters. I also saw that there was an abundant number of bees flying around the asters. What a great photo opportunity. The aster flowers (Aster spp.) add color to the autumn landscape while offering beauty with little work when caring for asters.
That is all for now. Until next week, be safe.
For more photo of other project I have work, visit my website: https://photobyjosephciras.weebly.com/ or visit me on Facebook at https://www.facebook.com/PhotobyJosephCiras/.

Wonderful captures! Loved it!
Your pictures are simply splendid!
Thanks for sharing tips. 😀