
“If you see something that moves you, and then snap it, you keep a moment.” — Linda McCartney
This week I am posting 3D photos. These are two methods to see them.
Free-Vision Fusion (Cross-eyed method)This technique has the advantage of not requiring special viewing equipment. Fusion is the term used for the process for visually merging the left-eye image and the right-eye image into a single 3-dimensional image. When using a viewer, most of the work of achieving the needed abnormal convergence for stereo viewing is done by the optics and design of the stereo viewer.
Free-vision fusion requires patience and practice because your willpower and eyes must do the work of the stereo viewer. You must be able to focus where your eyes aren’t looking.
Place the image in the center of your screen.
- Sit at your normal distance.
- Slowly cross your eyes. You will see a double image, or four dots.
- Continue to cross until the middle two images overlap.
- Adjust focus on middle image, keeping the two images overlapped.
- You should see the blue circle floating above the black circle.
If you are having problems with this method, try the following alternate method:
- Place index finger between images.
- Focus on your index finger.
- Slowly bring your finger towards your nose, staying focused on your finger, but paying attention to the background images in your peripheral vision. You will notice that instead of two images, there are four images floating about.
- Continue bringing your finger closer to your nose- you will see the two middle images moving towards each other.
- When the two middle images are aligned, or are on top of each other, stop moving your finger. You will now see three images in the background. The middle one contains the left/right images overlapped.
- Slowly remove your finger from your field of vision, while keeping the middle two images aligned.
- Gradually force your focus out to the combined left/right image in the middle.
- If you have problems keeping a lock on the middle image, try leaving your finger in the image for a while, but still focusing on the center image. Use your finger to regain left/right fusion.
If at first you fail, don’t worry. It took me a while. Relax, go away and rest your eyes, and try it again later.
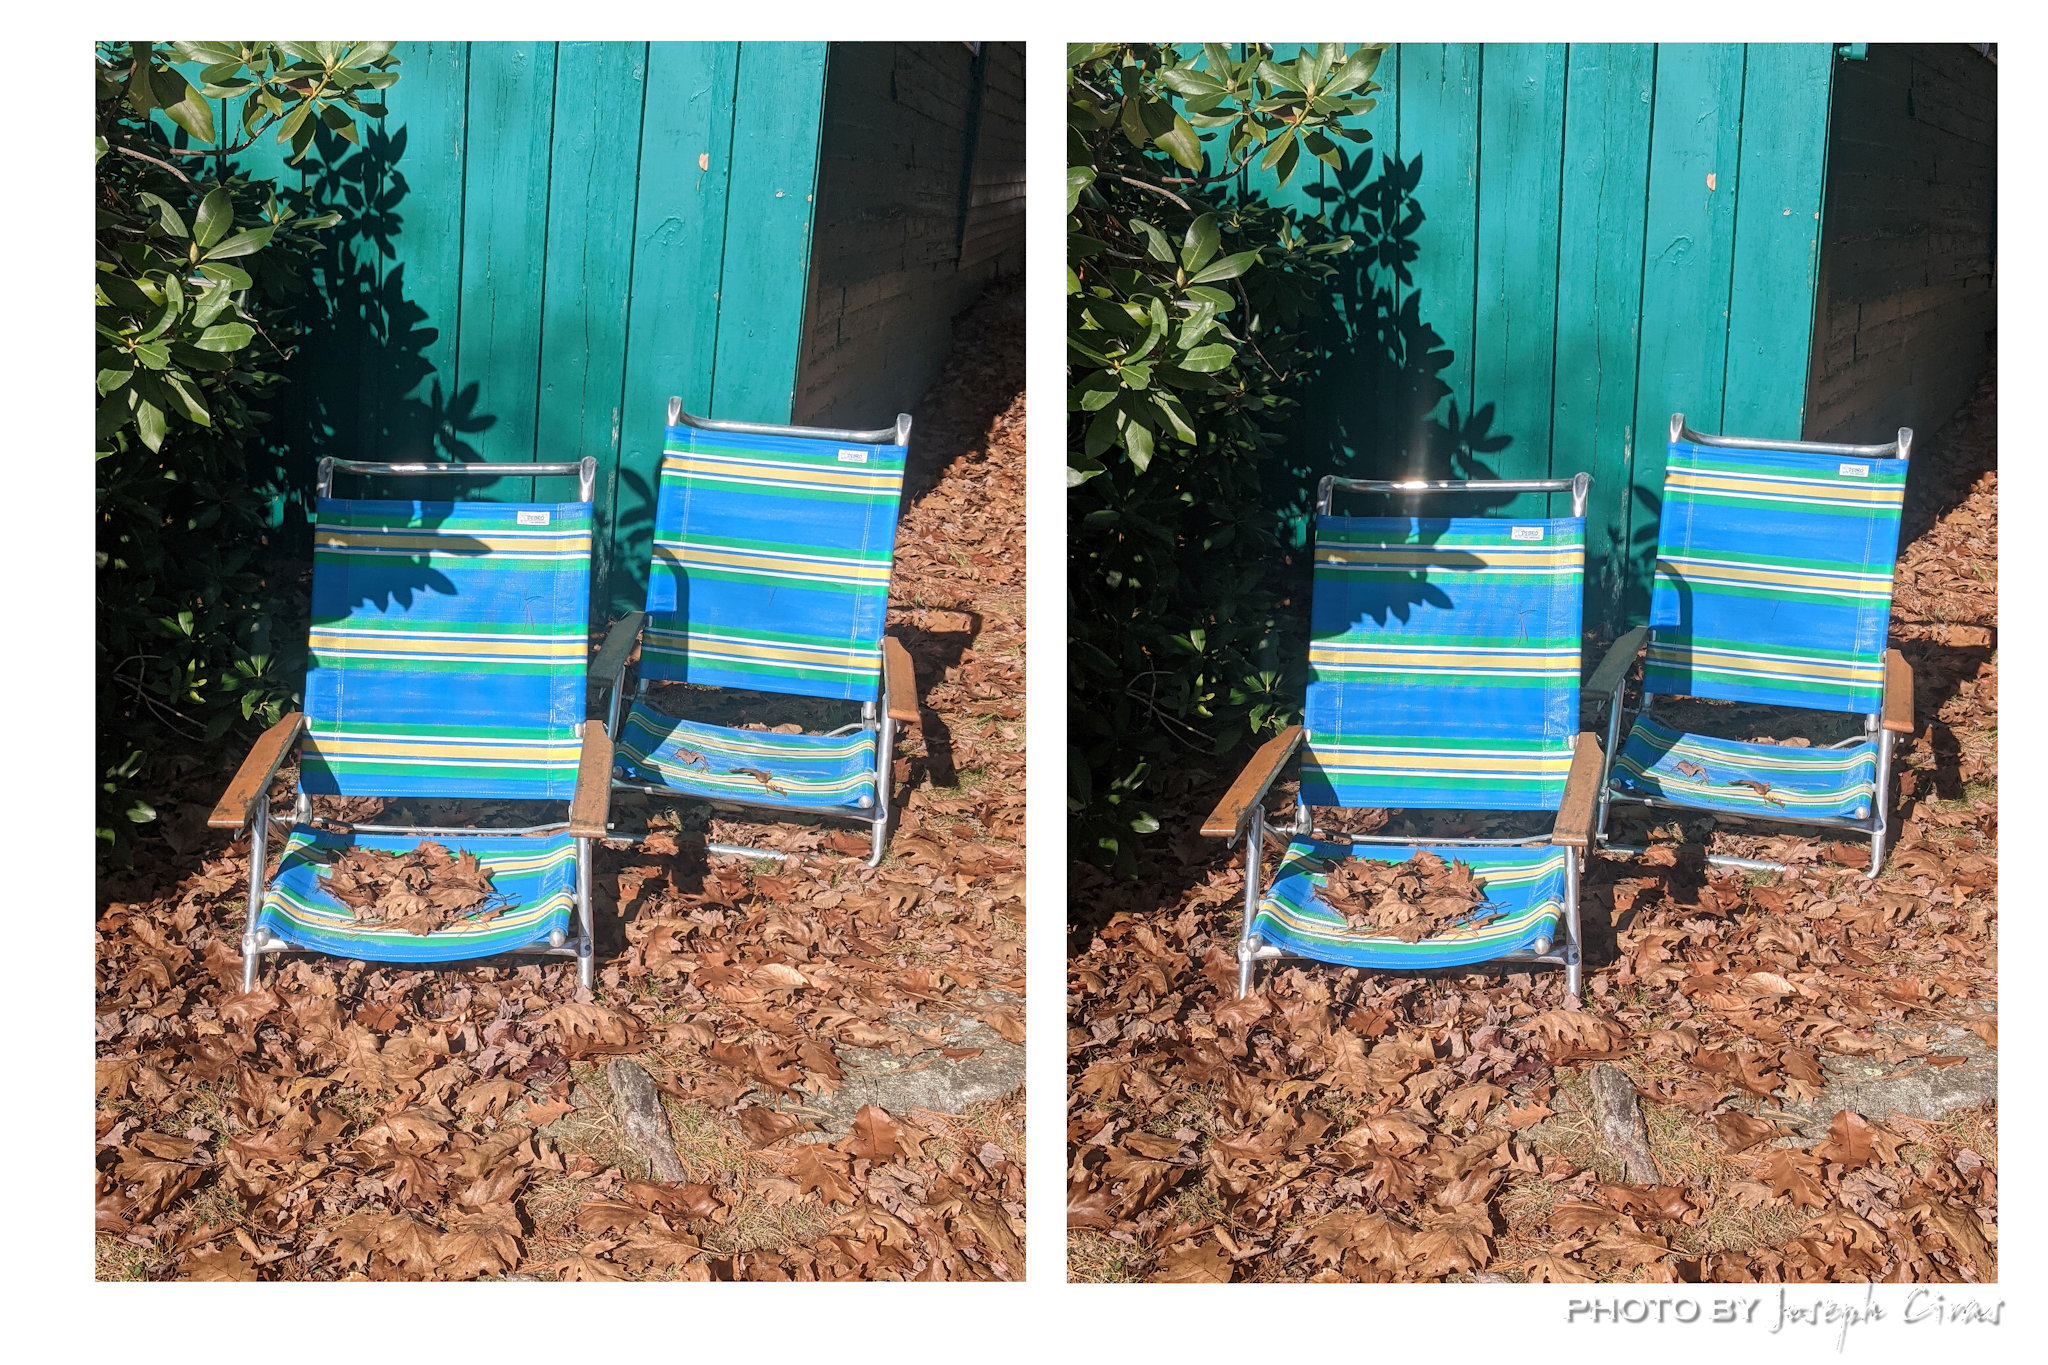
Sunday, 10/23/2022: Posted photo — Chairs.
Some chairs that appaired at the cottage.
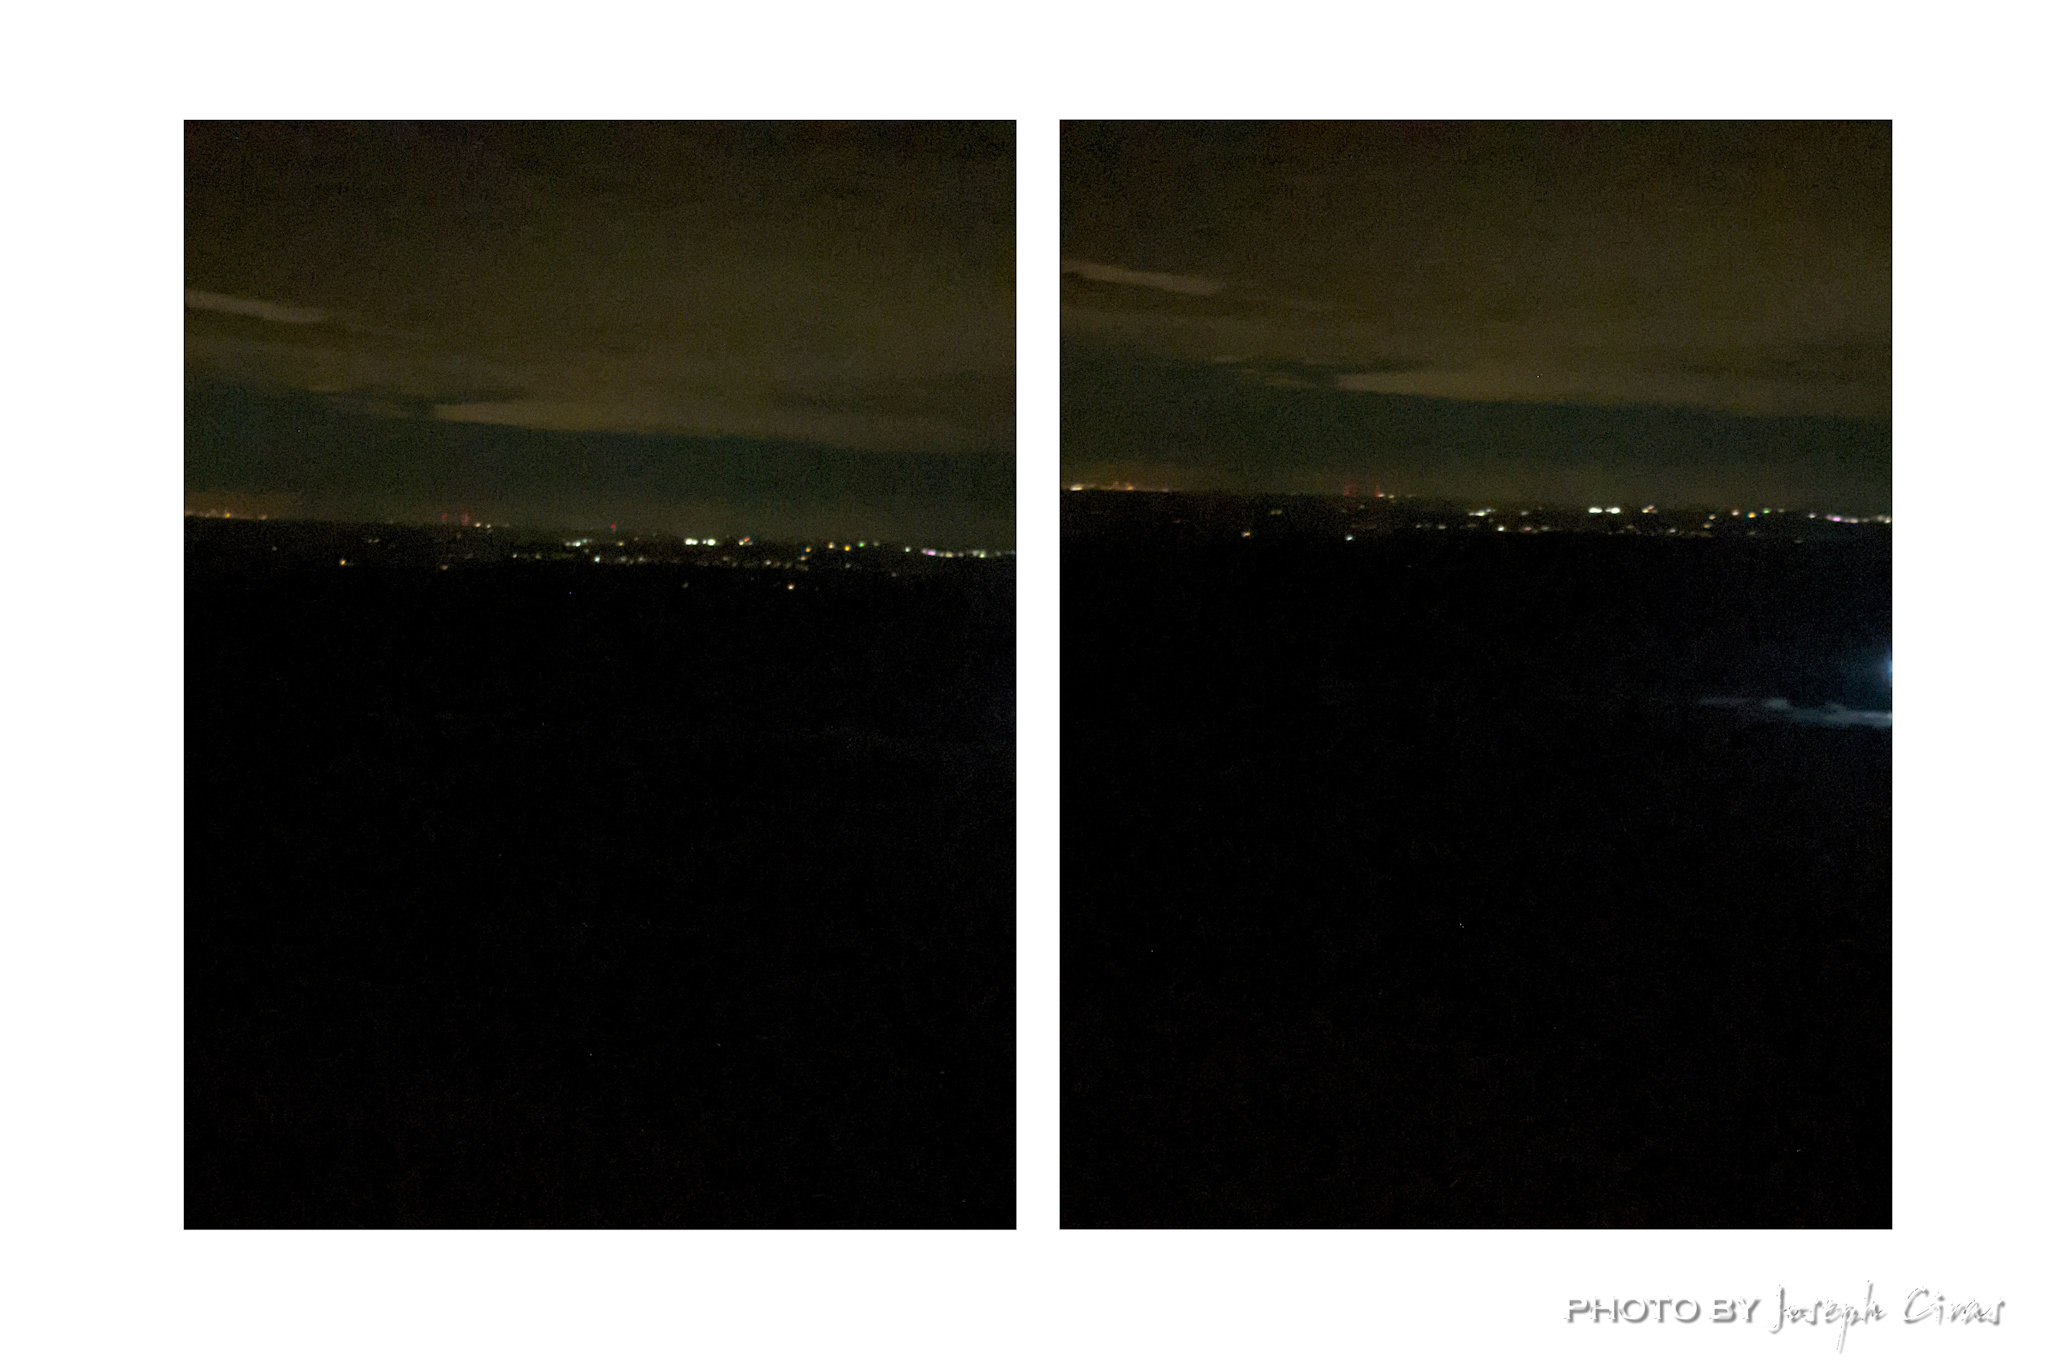
Monday, 10/24/2022: Posted photo — View of Boston at Night.
Not the best photo of the city, but a view of Boston from the summit of Wachusett Mountain.
Tuesday, 10/25/2022: Posted photo — Boats.
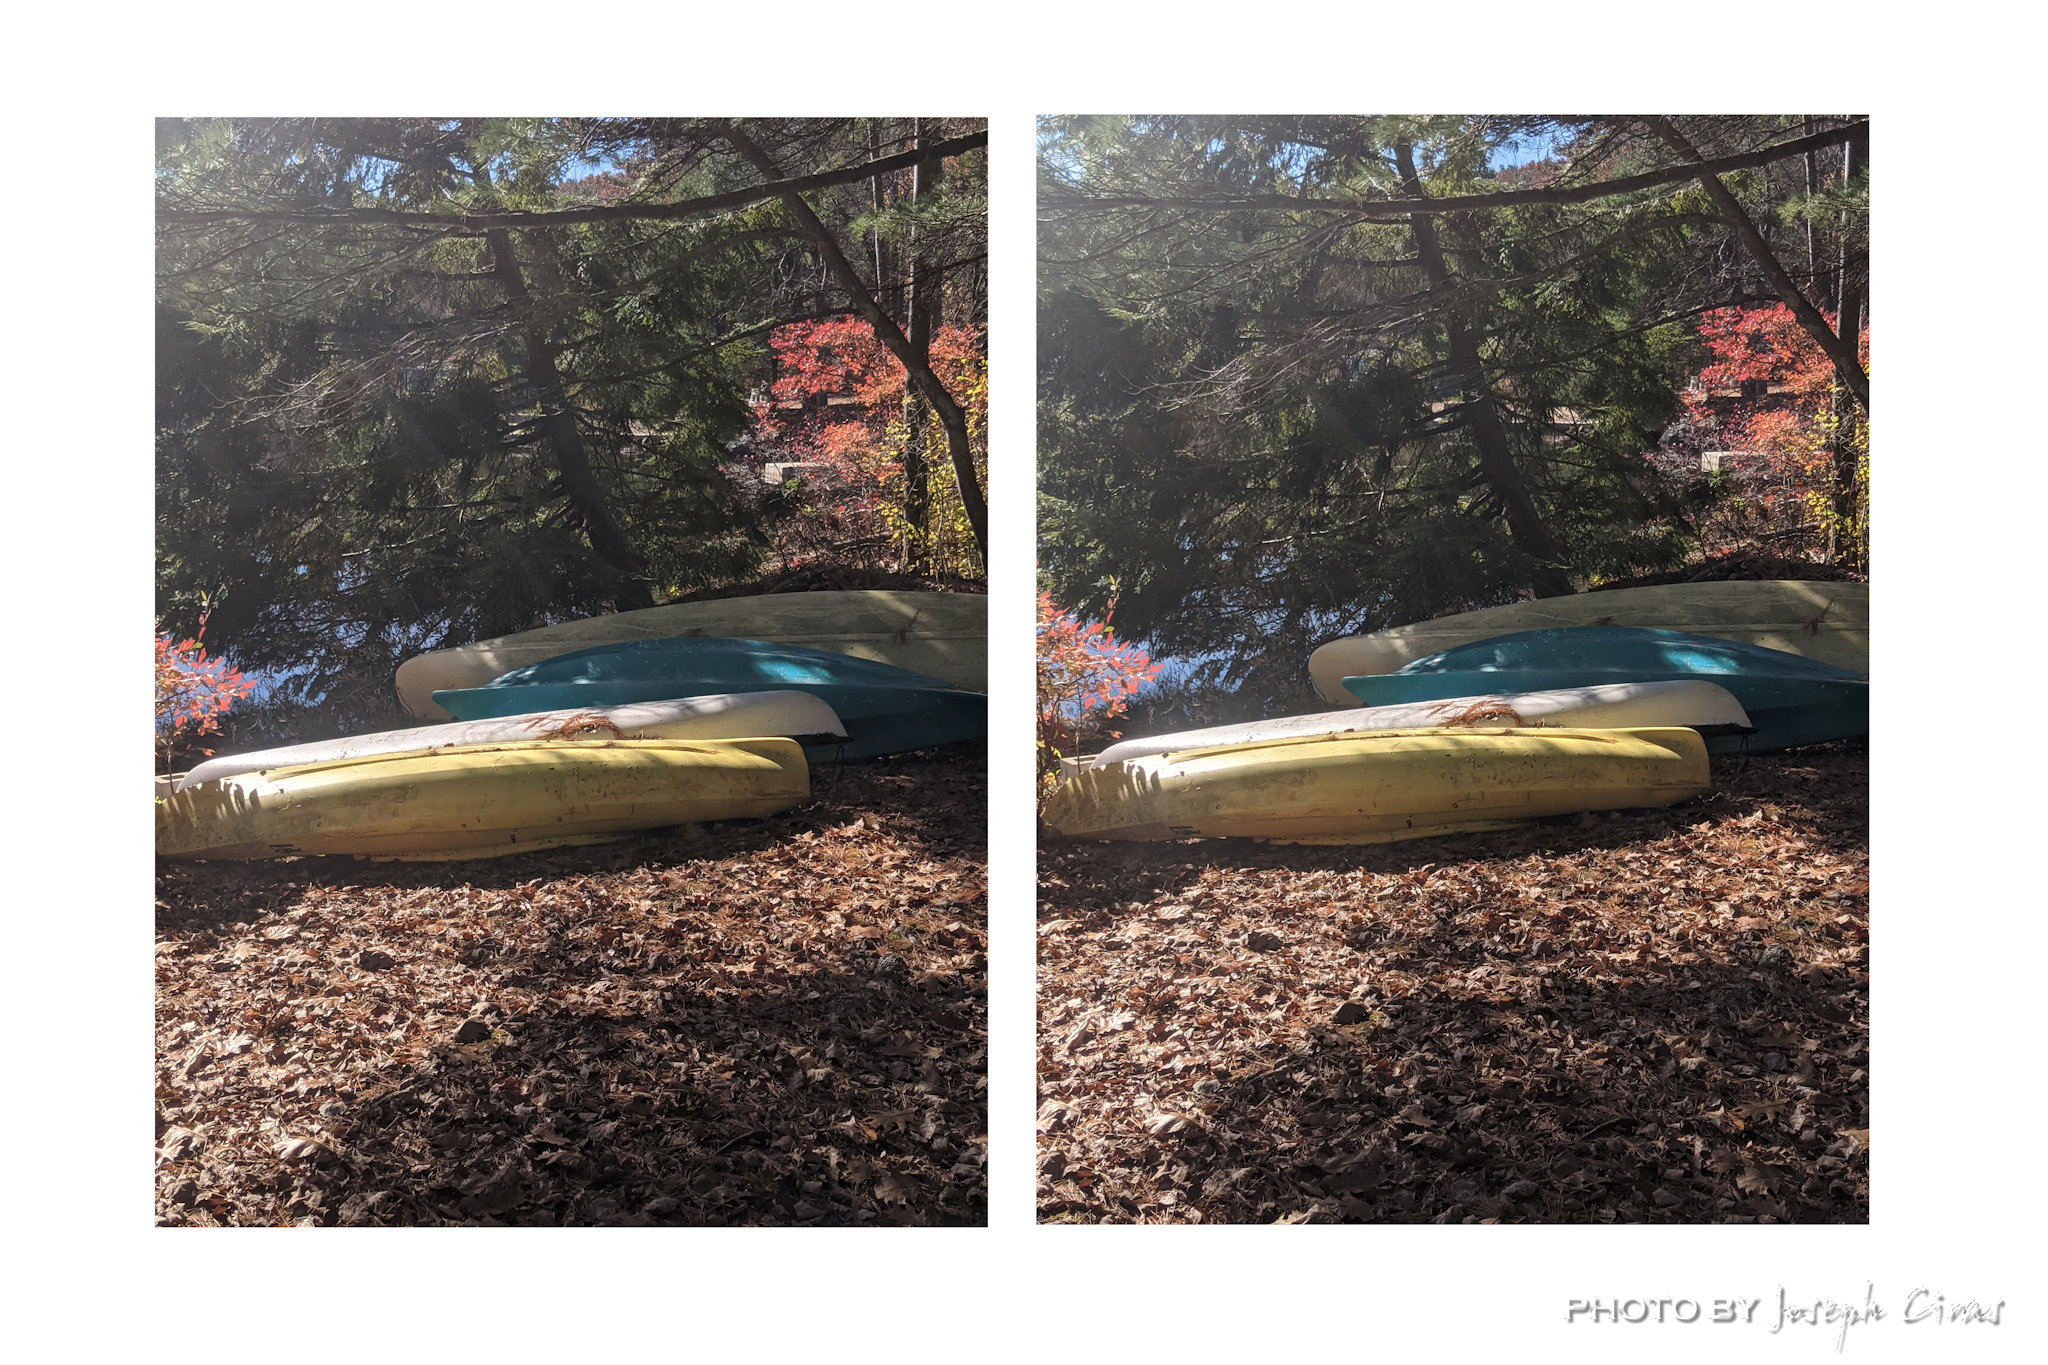
Boats at the cottage before they were put away for the winter.
Wednesday, 10/26/2022: Posted photo — Logs.

Logs that are ageing at our house. These logs came from my mother’s house a couple of years ago.
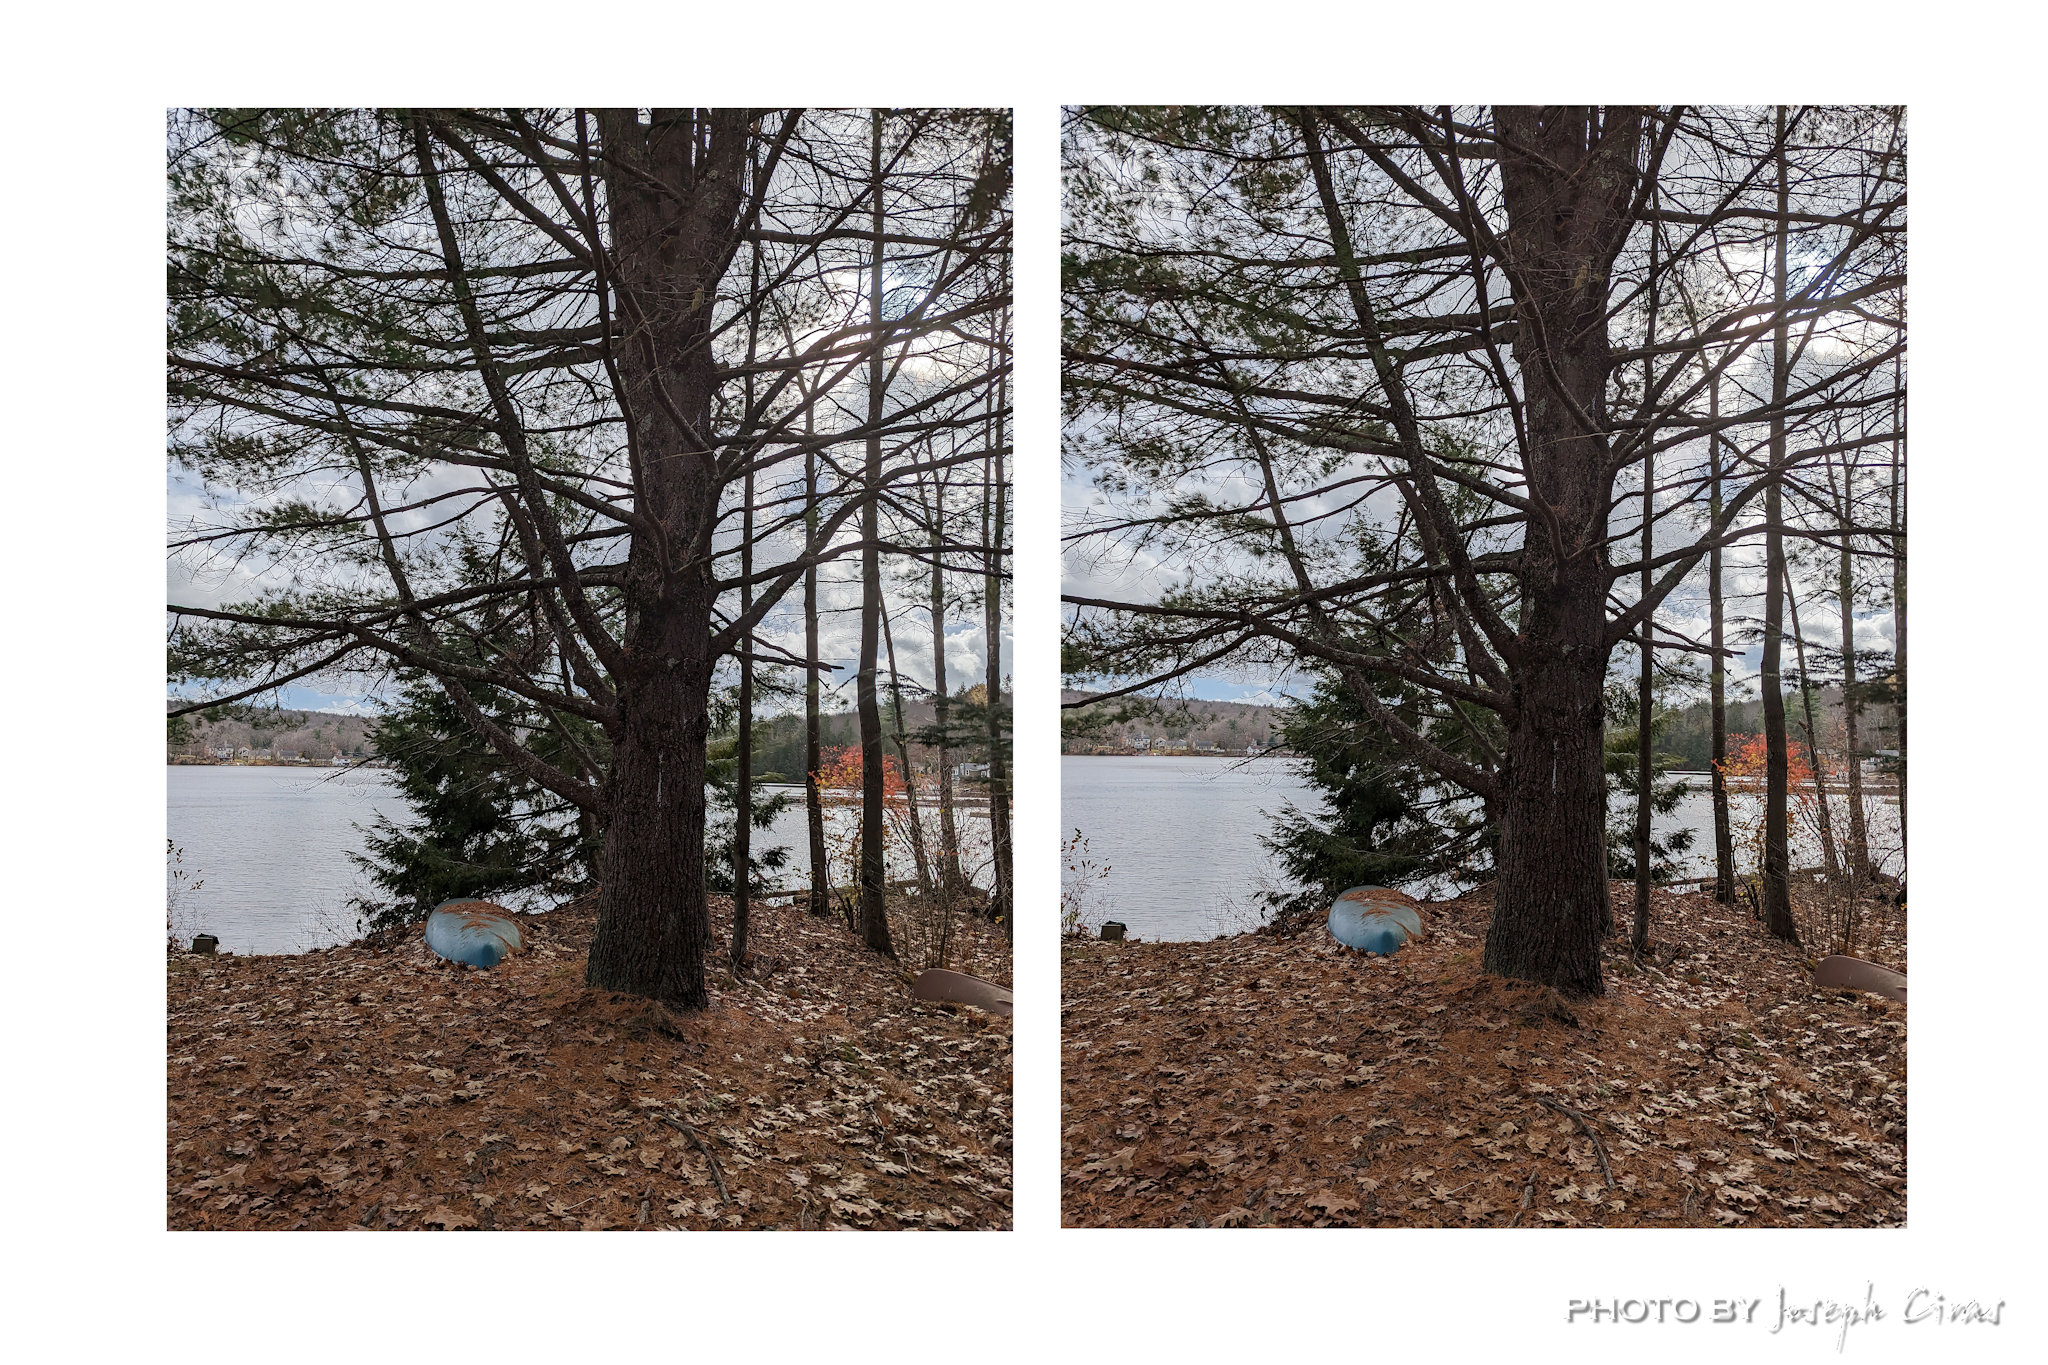
Thursday, 10/27/2022: Posted photo — Tree.
Here is one of the trees at the cottage.
Friday, 10/28/2022: Post photo — Rock.
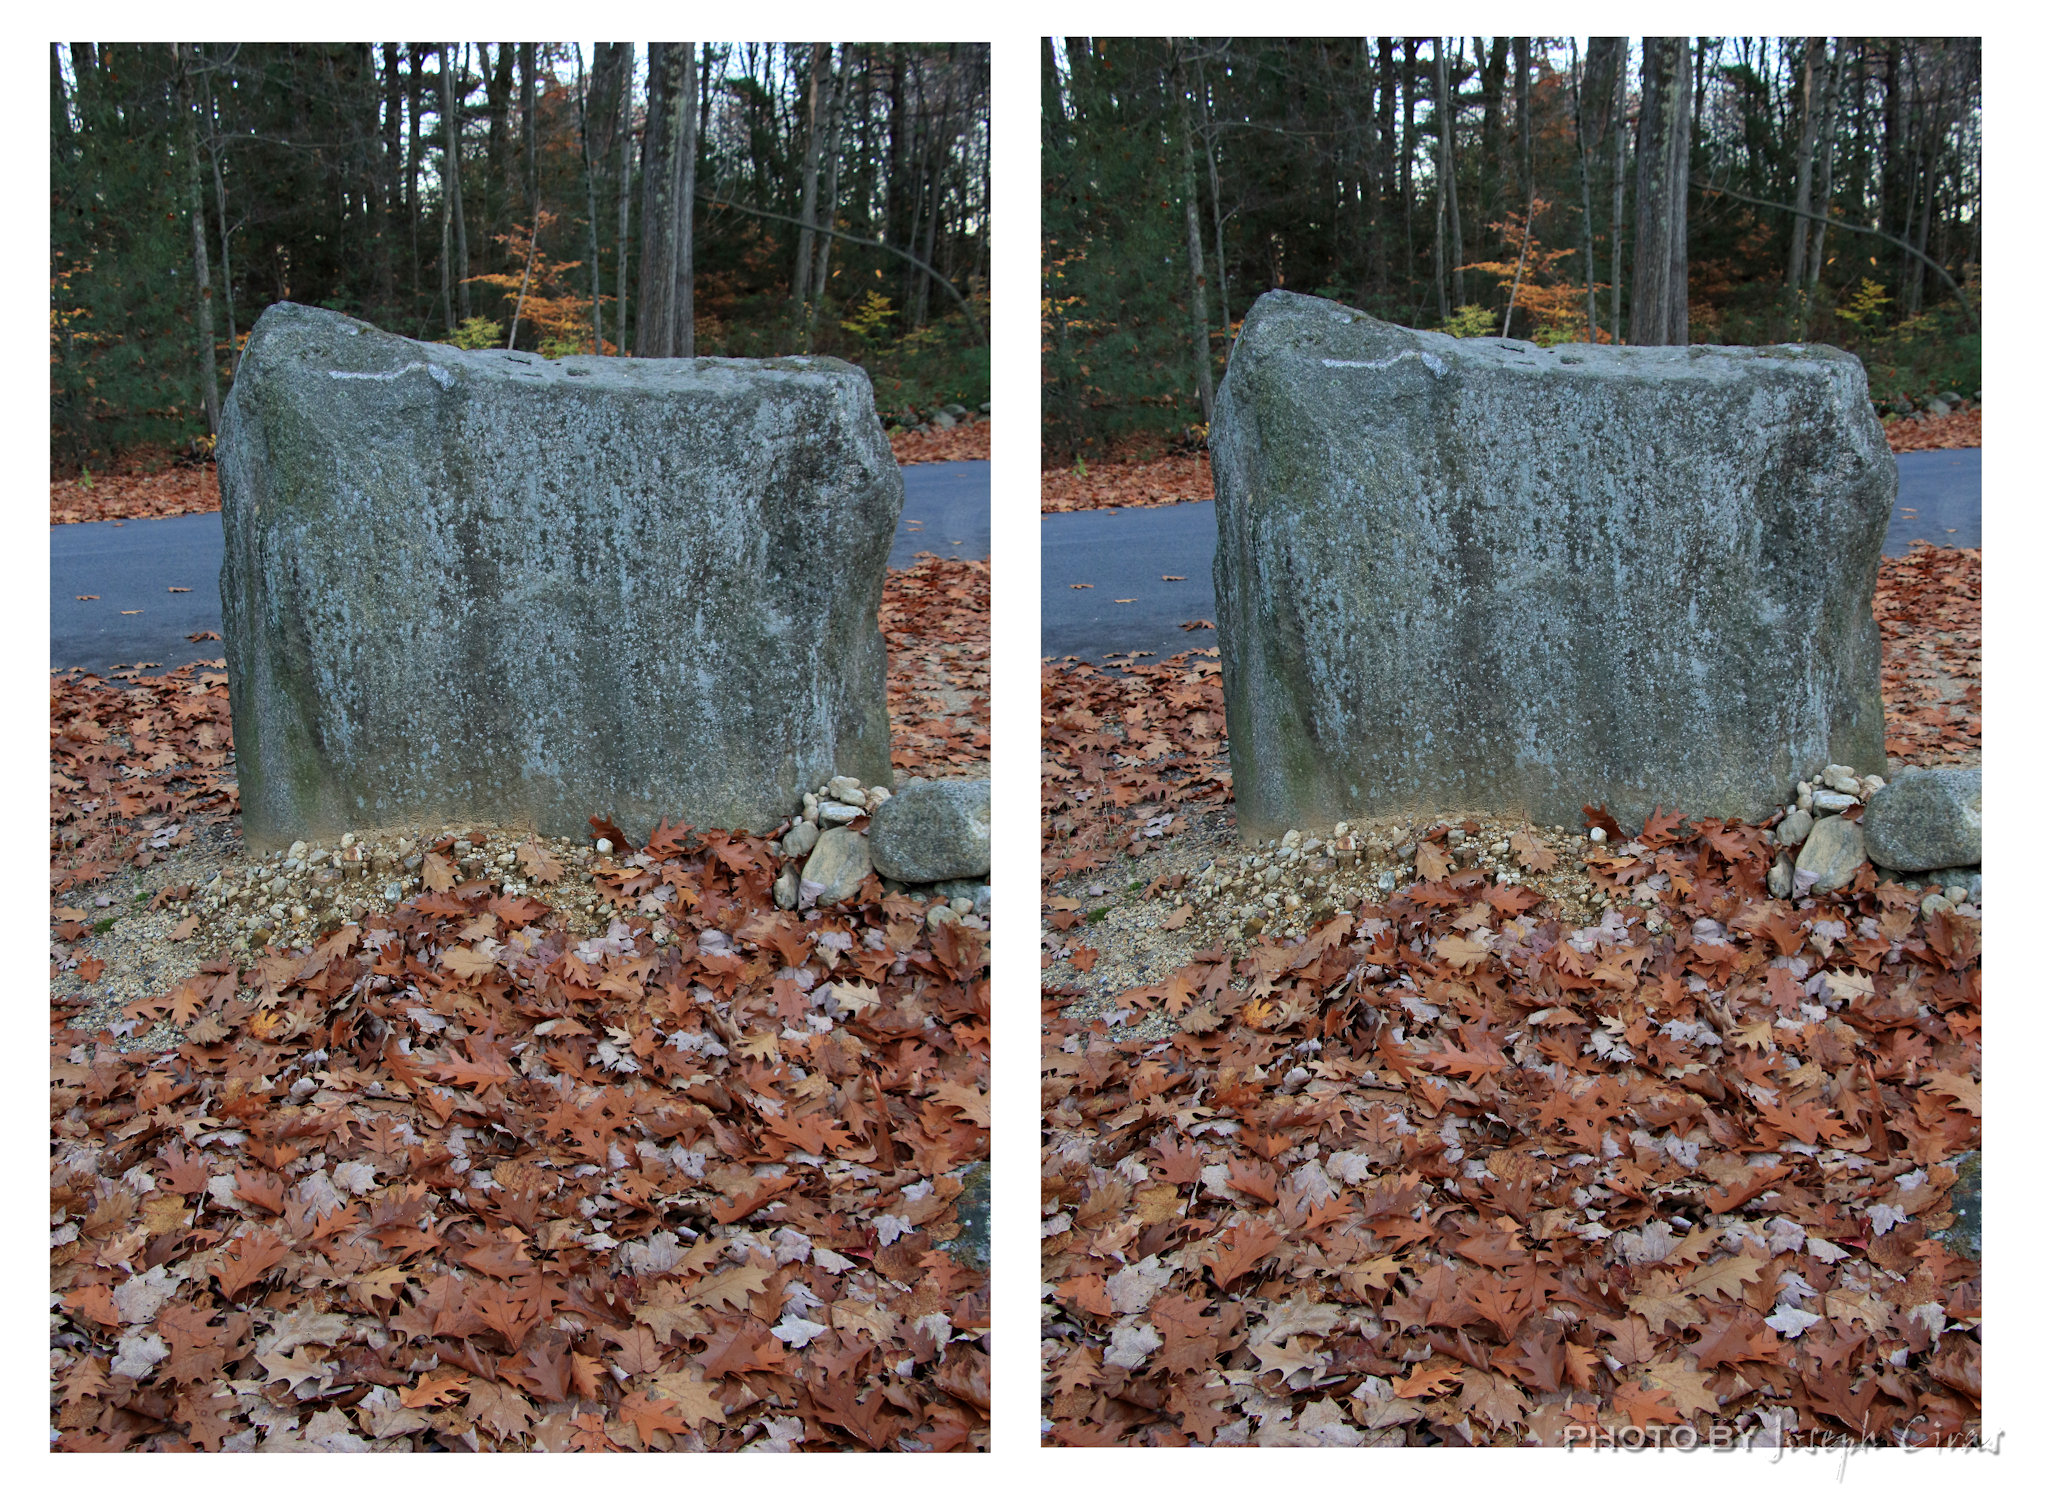
This rock is at my neighbor’s house at the start of their driveway.
Saturday, 10/29/2022: Post photo — Batting Cage.

This is my son’s batting cage.
Taking a 3D photo
Always take photos in portrait orientation.
Set the camera to full manual and choose the correct exposure and focus.
Put your feet square on to the subject of your 3D photo.
Put your weight onto your right foot, without lifting your left.
Take the first photo.
Put your weight onto your left foot without raising your right.
Unless your subject is very close, you don’t need to turn your camera to keep it in the center.
Take the second photo.
That is all for now. Until next week, be safe.
For more photo of other projects I have work, visit my website: https://photobyjosephciras.weebly.com or visit me on Facebook at https://www.facebook.com/PhotobyJosephCiras/.
